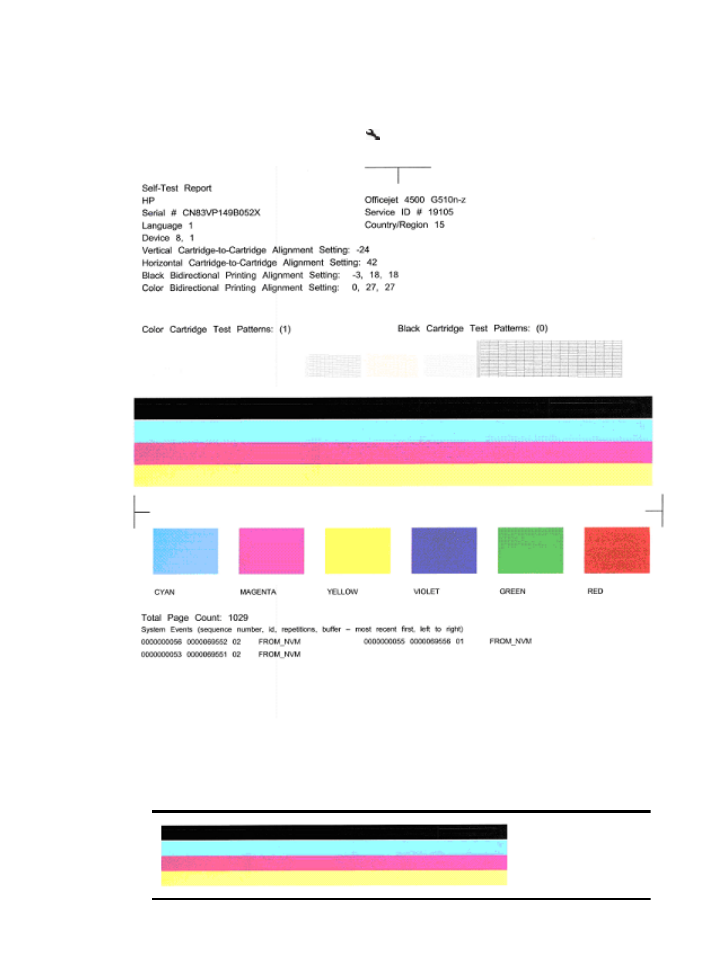
Self-Test Report
Follow these steps to print, and then evaluate a Diagnostic report.
1. Load regular, white, letter-size or A4 paper.
2. On the product control panel, press (Setup), select Print Report, select Self-
Test, and then press OK.
To evaluate the Diagnostic Page:
1. Look at the color bars in the middle of the page. There should be three color bars and
a black bar. All the bars should have sharp edges. They should be solid (not streaked
with white or other colors). They should be uniform in color throughout.
Poor print quality and unexpected printouts
87

Example of Good Bars - all bars are solid, sharp-edged, and uniformly colored - the
printer is operating correctly.
•
The black bar is printed by the Black Ink Cartridge
•
The colored bars are printed by the Tri-color Ink Cartridge
Ragged or irregularly streaked or faded bars
Example of bad black bar - The black bar is ragged at one end.
NOTE: To prevent problems causing ragged bars on the Self-Test Report, try
the following solutions:
•
Avoid leaving un-taped ink cartridges outside of the printer for an extended period
of time. For more information about handling ink cartridges, see
Handle the ink
cartridges
.
•
Always turn off the product using the
(Power) button, which prevents air from
getting into the cartridges. For more information about turning off the product, see
Turn off the device
.
Regular white streaks in the bars
Example of bad color bars - the blue bar has regular white streaks.
Bar colors are not uniform
Example of Bad Color Bars - The yellow bar is streaked with another color.
Chapter 7
88
Solve a problem

Black Text
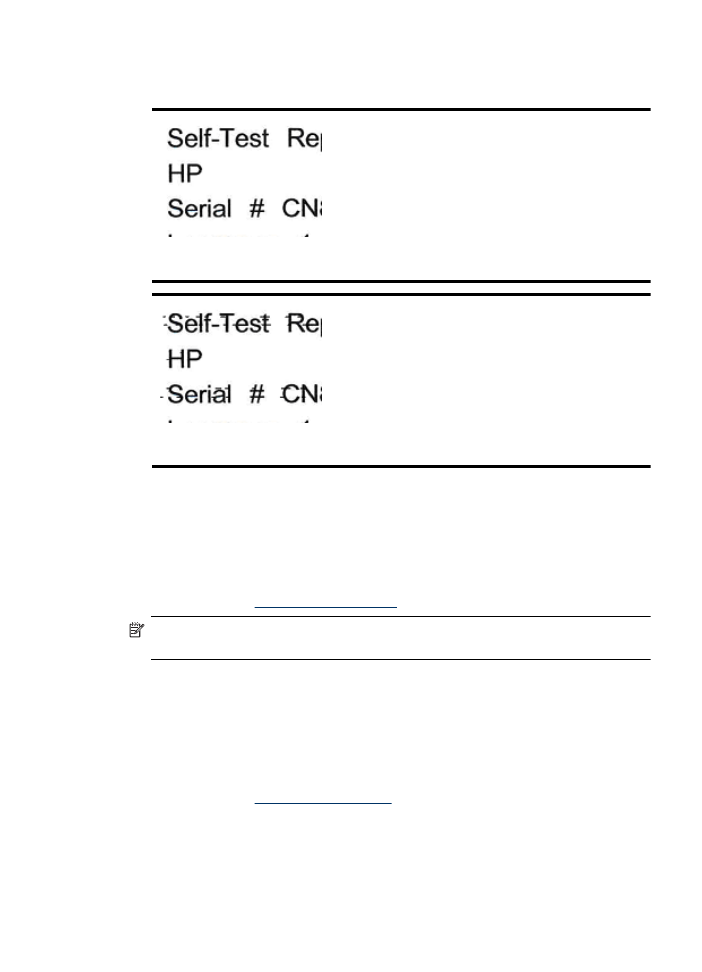
2. Look at the black text printed on the page. The type should be sharp and clear.
Example of good black text - the letters are sharp and clear - the printer is operating correctly
Example of bad black text - the letters are smeared.